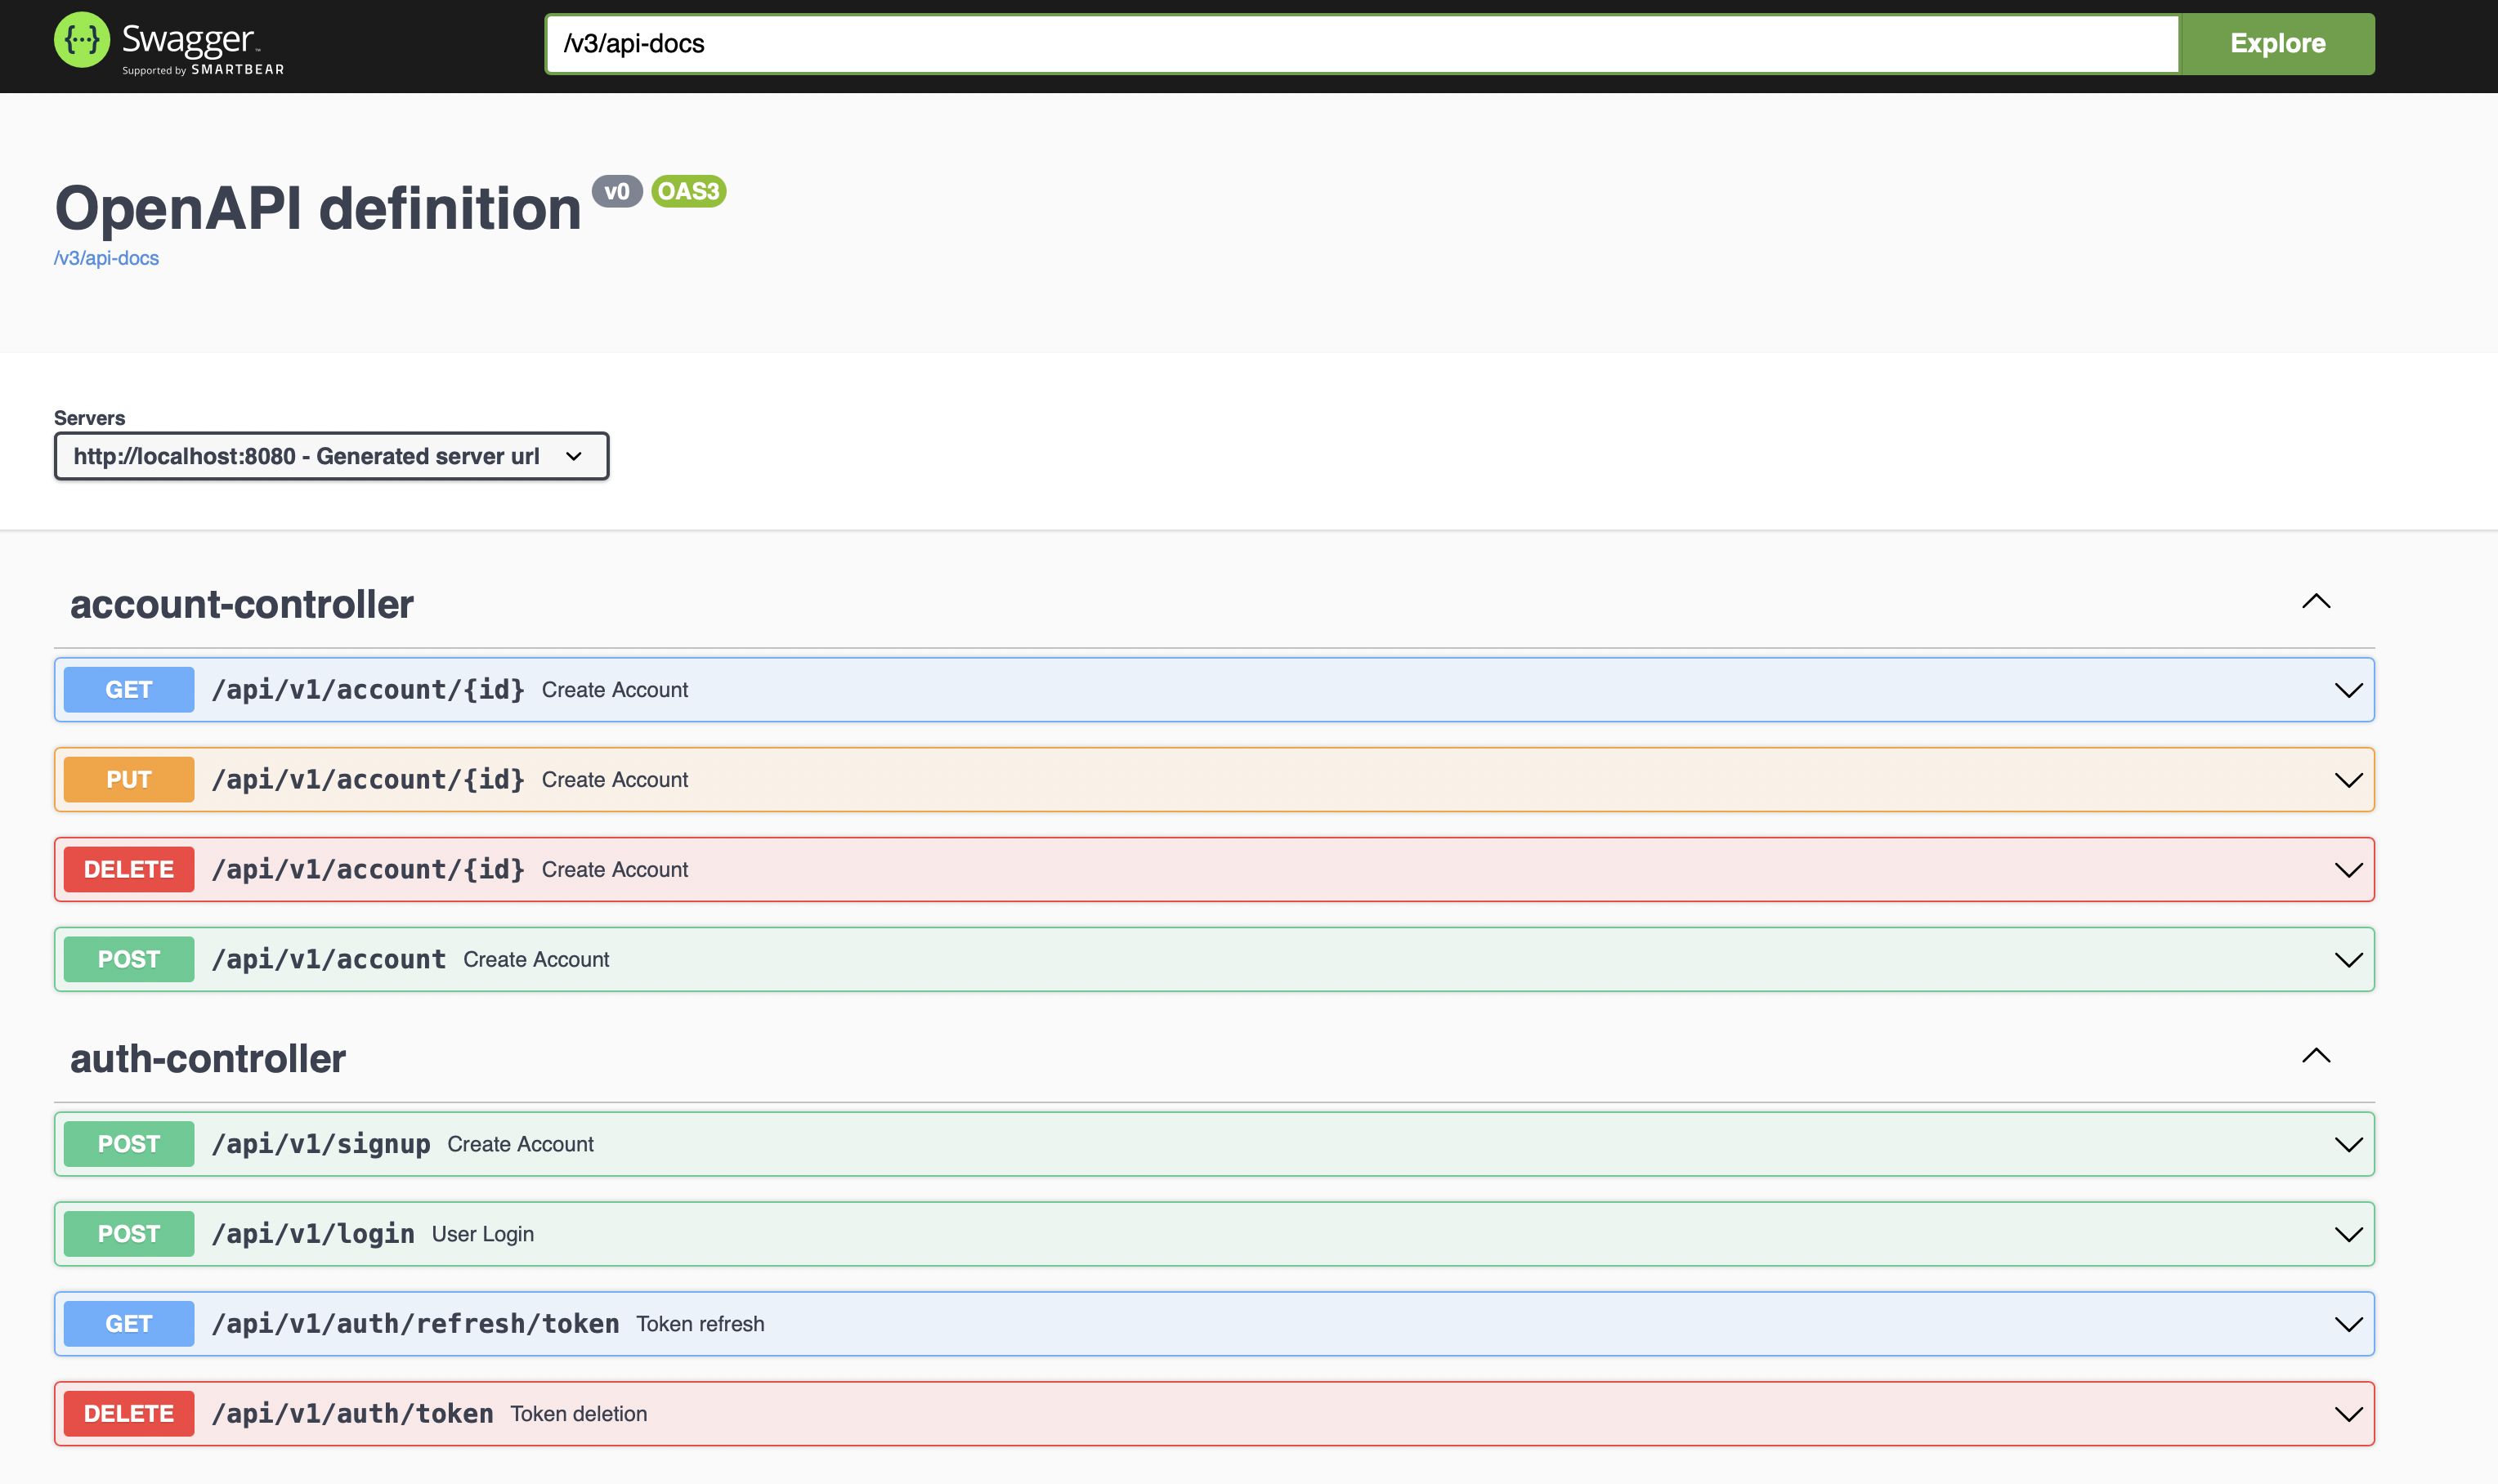
An OpenAPI definition can then be used by documentation generation tools to display the API, code generation tools to generate servers and clients in various programming languages, testing tools, and many other use cases.
A document (or set of documents) that defines or describes an API. An OpenAPI definition uses and conforms to the OpenAPI Specification
Open API는 간단하게 Restful API를 작성하여 테스트할 수 있는 툴이다. 하지만 Open API의 더 강력한 점은 개발하고 있는 웹서버와 통합하여 웹서버상의 Restful API의 문서 겸 테스트를 할 수 있는 환경을 제공한다는 것이다.
즉, Open API Document는 Restful API 개발을 할 때 Client 개발자가 참조할 수 있는 문서를 자동으로 만들어준다. 이 문서를 통해서 API URL, Request body schema, and Responce body schema 를 확인할 수 있다. 아래의 예제를 확인하면 이해가 바로 될 것이다.
(Open API Document 는 Swagger UI를 사용한다.)
이 문서에는 간단한 설정으로 문서를 작성해 보겠다.
Example

Open API 설정은 Dependency 추가, application.yml에 Configuration 추가, Annotation 추가. 이 세가지만 하면 완료된다.
Dependency 추가
아래와 같이 open api dependency를 추가해준다.
<properties>
	<openapi.version>1.6.3</openapi.version>
</properties>

<!-- Documentation-->
<dependency>
    <groupId>org.springdoc</groupId>
    <artifactId>springdoc-openapi-ui</artifactId>
    <version>${openapi.version}</version>
</dependency>
Configuration 추가
아래 Configuration은 swagger ui의 path를 설정한다.
# documentation
springdoc:
  swagger-ui:
    path: /swagger-ui.html
Annotation 추가
API Document의 내용을 추가하기 위해서 보통 아래와 같은 Annotation을 추가한다. Request와 Successfult Response의 경우는 코드를 분석하여 추가를 하지만 Error 상태의 응답은 Annotation을 추가하여 문서에 추가할 수 있다.
@Operation(summary = "Token Cache Creation", description = "Token Cache Creation", responses = {
        @ApiResponse(responseCode = "200", description = "OK", content = @Content(schema = @Schema(implementation = JwtTokenDTO.JwtTokenInfo.class))),
        @ApiResponse(responseCode = "400", description = "Bad Request", content = @Content(schema = @Schema(example = ""))),
        @ApiResponse(responseCode = "404", description = "Not Found", content = @Content(schema = @Schema(example = "")))
})
@PostMapping("/token")
public JwtTokenDTO.JwtTokenInfo createToken(@RequestBody JwtTokenDTO.JwtTokenCreateRequest request) {
    JwtToken jwtToken = modelMapper.map(request, JwtToken.class);
    JwtToken createdToken = jwtTokenService.create(jwtToken);

    return JwtTokenDTO.JwtTokenInfo.from(createdToken, modelMapper);
}
DTO의 각 항목에 예제를 추가하여 이해를 도울 수 있다.
@Getter
@Setter
@Accessors(chain = true)
@AllArgsConstructor
@NoArgsConstructor
@ToString
@Schema(description = "JwtToken Info")
public static class JwtTokenInfo {
    @Schema(example = "ff6681f0-50f8-4110-bf96-ef6cec45780e")
    private String id;
    @Schema(example = "1L")
    private Long accountId;
    @Schema(example = "eyJhbGciOiJIUzI1NiIsInR5cCI6IkpXVCJ9.....")
    private String jwtToken;
    @Schema(example = "2021-01-01T00:00:00")
    @JsonFormat(shape = JsonFormat.Shape.STRING, pattern = "yyyy-MM-dd'T'HH:mm:ss")
    private LocalDateTime updatedAt;

    public static JwtTokenInfo from(JwtToken jwtToken, ModelMapper modelMapper) {
        return modelMapper.map(jwtToken, JwtTokenInfo.class);
    }
}
추가된 결과
설정이 완료되고 서버를 실행한 후 http://localhost:8080/swagger-ui.html 로 접속으로 하면 아래와 같이 자동 생성된 문서를 볼 수 있다.

아래와 같이 API Request를 테스트 할 수도 있다.

Execute 버튼을 누르면 아래와 같이 응답을 받을 수 있다.

Schema

'Java > Spring boot' 카테고리의 다른 글
| SLF4J: Class path contains multiple SLF4J bindings 해결 방법 (0) | 2022.01.17 |
|---|---|
| Spring server용 Dockerfile 추가 및 실행 (0) | 2022.01.15 |
| Spring Data Redis 에서 Key는 어떻게 생성되는가? (0) | 2022.01.13 |
| Character Encoding 설정 - UTF-8 (0) | 2022.01.12 |
| Spring boot banner 변경하기 (0) | 2022.01.10 |